Pool Robot Not Moving? 7 Common Problems and How to Fix Them
Common Pool Robot Issues: Why Your Cleaner Won't Move
Pool robots enhance cleaning efficiency but can encounter operational issues that prevent movement. Understanding common problems helps diagnose and resolve these issues quickly. Purily technicians have identified the most frequent causes of mobility failure through extensive field experience.
1. Power Supply Problems
1.1 Power Cord and Connection Issues
Damaged power cords represent the leading cause of pool robot failure. Inspect for visible cuts, fraying, or exposed wires. Connection points between the cord and power supply often develop corrosion from moisture exposure.
Check cord for physical damage
Clean connection points with electrical contact cleaner
Verify power outlet functionality
Test with alternative power source if available
1.2 Power Supply Unit Failure
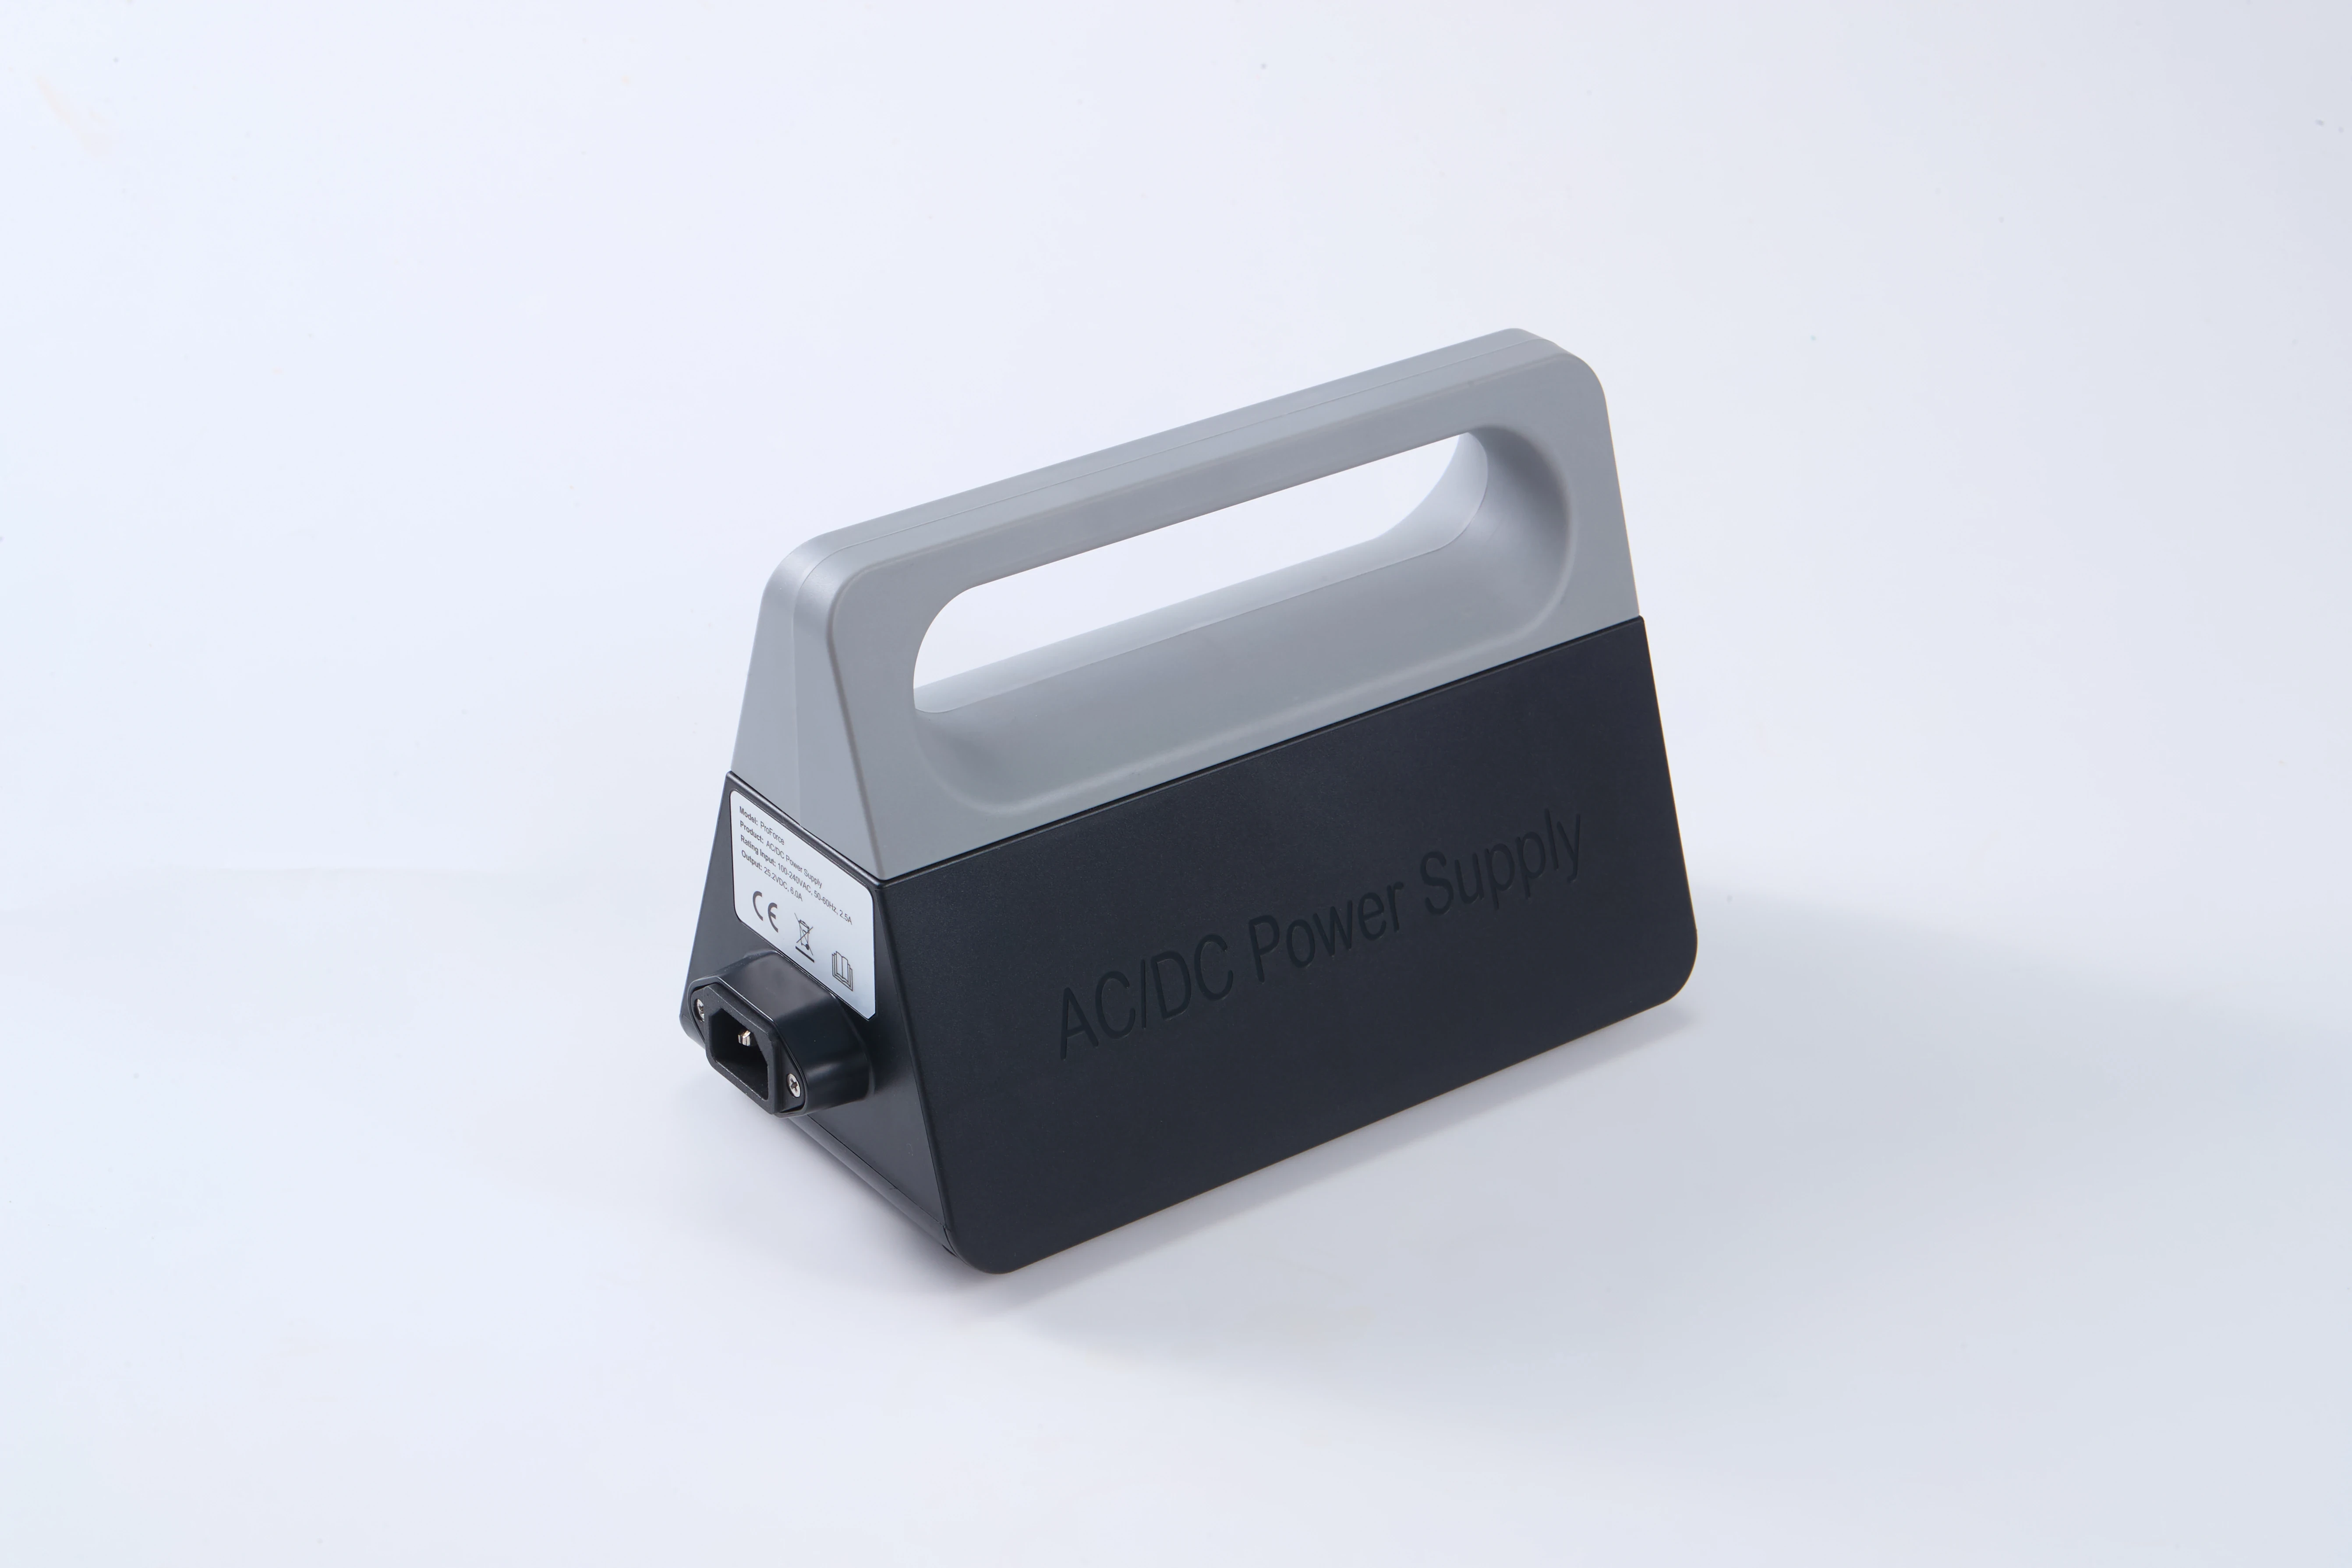
The power supply converts household electricity to the voltage required by your pool robot. Internal component failure prevents proper voltage delivery. Most units include diagnostic LEDs that indicate operational status.
Pro Tip: Purily recommends testing power supply output with a multimeter. A reading below 85% of rated voltage indicates replacement is needed.
2. Motor and Drive System Failures
2.1 Motor Burnout or Overheating
Pool robot motors operate continuously during cleaning cycles, making them susceptible to overheating. Extended use without proper cooling or debris blockage can cause motor failure. Listen for unusual sounds like grinding or clicking that indicate mechanical issues.
Overheated motors often emit a burning smell and feel excessively warm to touch. Allow cooling periods between extended cleaning sessions to prevent thermal damage.
2.2 Drive Track or Wheel Damage
Drive tracks and wheels enable robot movement across pool surfaces. Worn, cracked, or missing tread sections reduce traction. Debris accumulation between tracks can jam movement mechanisms. Regular inspection prevents unexpected mobility failures.
Examine tracks for wear patterns
Remove debris from track grooves
Check wheel bearings for smooth rotation
Verify tension adjustment meets manufacturer specifications
3. Sensor and Control System Malfunctions
3.1 Obstacle Detection Sensor Failure
Modern pool robots use sensors to navigate and avoid obstacles. Dirty or damaged sensors provide incorrect feedback, causing the robot to stop moving. Clean sensor lenses with a soft, damp cloth to remove water spots and debris.
Sensor calibration issues may require professional service. Some models feature self-diagnostic modes that display error codes when sensor problems occur.
3.2 Control Board Circuit Issues
The control board coordinates all robot functions. Water intrusion, power surges, or component aging can damage circuit pathways. Symptoms include erratic movement, failure to start, or complete shutdown.
Control board replacement typically requires manufacturer service due to specialized programming and calibration needs. Document any error codes displayed before contacting support.
Regular maintenance and prompt attention to movement issues extend your pool robot's operational life. When troubleshooting fails to resolve the problem, professional service ensures proper diagnosis and repair of complex internal components.
Power Problems: How to Fix Your Pool Robot's Electrical Issues
Pool robots rely on consistent power delivery to function properly. When your pool cleaner suddenly stops working or shows erratic behavior, electrical problems are often the culprit. Before assuming mechanical failure, it's essential to systematically check the power system. Purily technicians recommend starting with the simplest solutions first, as many pool robot power issues can be resolved without professional service.
1. Power Supply Testing Steps
1.1 Check Power Source and Connections
Begin by verifying that your power outlet is functioning correctly. Test the outlet with another device to confirm it's delivering power. Examine the power cord for any visible damage, fraying, or exposed wires. Ensure all connections between the power supply, transformer, and pool robot are secure and free from corrosion.
According to industry standards, pool robot power supplies should maintain consistent voltage output. If you have a multimeter, check that the output matches the manufacturer's specifications, typically between 24-29 volts DC for most residential pool robots.
1.2 Inspect the Transformer and Power Supply
The transformer converts standard household voltage to the lower voltage required by your pool robot. Look for any signs of overheating, such as discoloration or a burning smell. Some transformers have indicator lights that show when they're receiving power and functioning correctly.
Verify transformer input voltage matches your home's electrical system
Check for loose internal connections if you're comfortable opening the power supply
Listen for unusual buzzing or humming sounds that might indicate internal component failure
2. Cable Inspection Checklist
2.1 Examine Power and Floating Cables
Carefully inspect the entire length of both the power cable and floating cable for damage. These cables are often exposed to harsh pool chemicals, UV radiation, and physical stress. Look for cracks, cuts, or areas where the outer insulation has become brittle or separated from the internal wiring.
Pay special attention to connection points where cables attach to the robot and power supply. These areas experience the most stress and are prone to developing intermittent connections that can cause your pool robot to shut off unexpectedly.
2.2 Test Cable Continuity
If you have electrical testing equipment, you can check cable continuity to identify breaks in the wiring. Disconnect the power supply from the outlet before performing any electrical tests. Use a multimeter to test for continuity between each wire at both ends of the cable.
Pro Tip: Purily's technical team suggests marking any damaged sections with waterproof tape before replacing cables, as this helps identify patterns of wear that might indicate installation issues.
3. Safety Precautions
3.1 Essential Safety Measures
Always prioritize safety when working with electrical components near water. Never handle electrical connections with wet hands or while standing in water. Ensure all power is disconnected before inspecting or testing any electrical components of your pool robot system.
Install a ground fault circuit interrupter (GFCI) outlet for your pool robot's power supply if one isn't already present. This provides critical protection against electrical shock and is required by electrical codes for outdoor pool equipment in most jurisdictions.
3.2 Professional Intervention Guidelines
If you've completed all troubleshooting steps and your pool robot still isn't working, it may be time to consult a professional. Complex electrical issues, such as transformer failure or circuit board problems, require specialized knowledge and tools to diagnose and repair safely.
Keep your pool robot's model number and purchase information handy when contacting customer support or a repair technician. This information helps ensure you receive accurate advice and compatible replacement parts for your specific model.
Filter and Pump Issues: Why Your Pool Robot Has No Suction
When your pool robot experiences suction problems, the culprit is often related to your pool's filtration system. Purily experts recommend checking these components first before assuming the robot itself is faulty. A properly functioning filtration system is essential for optimal robot performance, as it provides the necessary water flow and debris removal capacity.
1. Clean or Replace Your Pool Filter
1.1 Filter Cleaning Guide
Start by inspecting your pool filter pressure gauge. When pressure rises 8-10 PSI above normal operating levels, it's time for cleaning. For cartridge filters, remove the cartridge and hose it thoroughly from top to bottom. Sand filters require backwashing until the sight glass runs clear, typically 3-5 minutes. DE filters need backwashing followed by fresh DE powder addition.
Check pressure gauge weekly during peak season
Replace cartridge filters every 2-3 years
Backwash sand filters monthly or as needed
Inspect filter media for tears or damage
1.2 Signs of Filter Problems
Common indicators include cloudy water, reduced water flow from return jets, and visible debris accumulation despite regular cleaning. A dirty filter can reduce suction power by up to 50%, directly impacting your pool robot's cleaning efficiency. If cleaning doesn't restore proper pressure, the filter media may need replacement.
2. Inspect the Pump and Impeller
2.1 Impeller Inspection Steps
Turn off power to the pump and remove the pump basket. Shine a flashlight into the pump volute to check for debris around the impeller. Small stones, leaves, or other objects can jam the impeller, reducing water flow significantly. Use needle-nose pliers to carefully remove any obstructions you find.
Pro Tip: Purily's technical team suggests checking the impeller monthly during heavy use periods, as debris buildup is one of the most common causes of reduced suction in pool systems.
2.2 Pump Performance Check
Listen for unusual noises from the pump motor, which may indicate bearing wear or cavitation. Check that the pump lid O-ring is clean and lubricated to maintain proper seal. A failing pump can reduce water flow by 30-40%, severely limiting your robot's cleaning ability. Ensure the pump runs at least 8-12 hours daily during swimming season.
3. Test Suction Power
3.1 Suction Test Method
Perform a simple suction test by placing your hand over the skimmer opening. You should feel strong, steady suction. Weak or intermittent suction indicates problems in the system. Check all valves are fully open and that there are no air leaks in the plumbing connections. Even small air leaks can reduce suction efficiency by 20-25%.
Test Location | Expected Result | Problem Indicator |
|---|---|---|
Skimmer opening | Strong, steady pull | Weak or gurgling suction |
Pump basket | Full water flow | Air bubbles or low water level |
3.2 Final Verification
After addressing filter and pump issues, run your pool robot through a complete cleaning cycle. Monitor its movement patterns and debris collection. If problems persist, the issue may lie with the robot's internal components rather than the pool system. Regular maintenance of your filtration system not only improves robot performance but also extends the life of all pool equipment.
Wheel and Track Malfunctions: Fixing Movement Problems
When your pool robot experiences movement issues, it's often due to worn wheels, damaged tracks, or insufficient lubrication. Regular inspection of these mechanical components can prevent costly repairs and extend your cleaner's operational life. Purily technicians recommend monthly maintenance checks to identify potential problems before they impact performance.
1. Wheel and Track Inspection
1.1 Visual Damage Assessment
Examine all wheels and tracks for cracks, warping, or excessive wear. Replace any components showing significant deterioration to maintain proper traction and movement patterns.
Look for debris accumulation in track grooves that may impede smooth operation. Clean thoroughly before considering replacement parts.
1.2 Wear Pattern Analysis
Document movement patterns to identify uneven wear on specific wheels or tracks. This diagnostic step helps determine if the issue stems from mechanical imbalance or operational stress.
Compare wear patterns against manufacturer specifications to assess when replacement becomes necessary.
2. Mechanical Component Maintenance
2.1 Bearing Lubrication Procedure
Apply silicone-based lubricant to all wheel bearings
Rotate wheels manually to distribute lubricant evenly
Remove excess lubricant to prevent debris attraction
Check for smooth rotation after lubrication
2.2 Track Tension Adjustment
Proper track tension ensures optimal contact with pool surfaces. Adjust tension screws according to manufacturer specifications, typically requiring 2-3 full turns for most models.
Test movement after adjustment by running the cleaner on a flat surface to verify smooth operation without slippage.
Pro Tip: Purily's service team recommends documenting all maintenance activities, including part replacements and lubrication schedules, to optimize future troubleshooting efforts.
3. Replacement Guidelines
3.1 Wheel/Tread Replacement Steps
Begin by disconnecting power and removing the cleaner from the pool. Access wheel assemblies by removing the bottom cover plate, typically secured with 4-6 screws.
Document the orientation of existing components before removal to ensure proper installation of new parts.
3.2 Quality Parts Selection
Use manufacturer-approved replacement components to maintain warranty coverage and optimal performance. Generic parts may compromise cleaning efficiency and movement patterns.
Verify compatibility by checking model numbers against replacement part specifications before purchase.
Q1: How often should I replace pool robot wheels?
A1: Wheel replacement frequency depends on usage intensity and pool surface type. Most residential units require wheel replacement every 12-18 months with regular use.
Q2: What causes uneven track wear?
A2: Uneven track wear typically results from improper tension, debris accumulation, or misalignment. Regular inspection and maintenance can prevent these issues.
Q3: Can I use WD-40 on pool robot bearings?
A3: No, WD-40 attracts moisture and debris. Use only silicone-based lubricants specifically designed for pool equipment to prevent corrosion and maintain smooth operation.
Q4: How do I know if my tracks need replacement?
A4: Look for visible cracks, significant thinning of tread material, or loss of traction. If tracks slip frequently or make unusual noises, replacement is likely necessary.
Q5: What's the average cost of wheel replacement?
A5: Wheel replacement costs typically range from $15-$50 per wheel, depending on the model and whether you choose OEM or aftermarket parts.
Sensor and Navigation Failures: Why Your Pool Robot Gets Stuck
Your pool robot's sensors act as its eyes and brain, guiding it through cleaning cycles. When these sensors malfunction or become obstructed, your cleaner may get stuck in corners, miss entire sections of your pool, or display erratic navigation patterns. Understanding and maintaining these critical components can restore your robot's efficiency and prevent frustrating cleaning interruptions.
1. Common Sensor Issues and Detection Problems
1.1 Sensor Cleaning Procedure
Pool robot sensors require regular cleaning to function properly. Start by powering off the unit and disconnecting it from the power source. Use a soft, lint-free cloth slightly dampened with clean water to gently wipe all sensor surfaces, including optical sensors, ultrasonic transducers, and wall detection sensors. Avoid using harsh chemicals or abrasive materials that could damage the sensor coatings.
For stubborn buildup, Purily recommends a 50/50 mixture of water and white vinegar, applied with extreme care. Clean sensors monthly during peak swimming season and bi-monthly during off-season. After cleaning, allow sensors to dry completely before restarting your robot to prevent electrical issues.
1.2 Navigation Pattern Troubleshooting
When your pool robot displays erratic navigation patterns, check the gyroscope and accelerometer first. These components help the robot map its cleaning path and maintain orientation. If your cleaner repeatedly circles the same area or moves in straight lines without covering the entire pool, calibration may be needed.
Most modern pool robots offer a factory reset option in their settings menu. After resetting, allow the robot to complete a full cleaning cycle without interruption to reestablish proper navigation patterns. If problems persist after calibration, the navigation sensors may need professional inspection or replacement.
2. Wall Detection and Obstacle Avoidance
2.1 Wall Detection Issues
Wall detection sensors use infrared or ultrasonic technology to prevent your pool robot from getting stuck in corners or climbing walls excessively. When these sensors fail, your cleaner may repeatedly bump into walls, get trapped in tight spaces, or climb pool walls until it falls back into the water.
Check for sensor obstruction by examining the sensor ports for debris, calcium buildup, or algae growth. These obstructions can block the sensor's ability to detect obstacles accurately. Clean the sensor ports with a soft brush and ensure they remain clear throughout the cleaning cycle.
2.2 Obstacle Avoidance Calibration
Modern pool robots use multiple sensors to detect and navigate around obstacles like pool ladders, steps, and drains. When obstacle avoidance fails, your robot may repeatedly attempt to clean the same area or become wedged against fixed pool features.
Check sensor alignment and positioning
Verify obstacle detection zones in the robot's settings
Test the robot in different pool configurations
Update firmware if available from the manufacturer
Regular calibration ensures your robot can distinguish between cleanable surfaces and permanent obstacles, preventing unnecessary wear and tear on both the robot and your pool surfaces.
Pro Tip: Purily technicians recommend testing your pool robot's sensors in a controlled environment before each swimming season to identify potential issues early and ensure optimal performance throughout the year.
When to Call a Professional: Pool Robot Repair vs. Replacement
Pool robots are complex machines with motors, sensors, and electronic components that can malfunction over time. While some minor issues can be resolved through basic troubleshooting, others require specialized knowledge and tools. Purily recommends evaluating the cost-benefit ratio before deciding between repair and replacement.
1. Cost Comparison Analysis
1.1 Repair Cost Breakdown
Professional pool robot repairs typically range from $150 to $400, depending on the issue. Common repairs include motor replacements ($200-$300), drive track repairs ($100-$150), and control board fixes ($250-$350). Labor costs add $75-$125 per hour.
Repair Type | Cost Range | Success Rate |
|---|---|---|
Motor Replacement | $200-$300 | 85% |
Drive Track Repair | $100-$150 | 90% |
Control Board Fix | $250-$350 | 70% |
Filter Replacement | $50-$100 | 95% |
1.2 Replacement Cost Factors
New pool robots cost between $500 and $1,500, with premium models reaching $2,500. Mid-range models ($800-$1,200) offer the best value, providing advanced features and 3-5 year warranties. Consider energy efficiency ratings, which can save $200-$400 annually on electricity costs.
2. Warranty and Age Considerations
2.1 Warranty Check List
Verify remaining warranty period (typically 1-3 years)
Check if repairs are covered under warranty terms
Document purchase date and original warranty documentation
Review manufacturer's repair authorization requirements
Confirm if warranty is transferable if you bought used
2.2 Replacement Recommendations
Consider replacement if your pool robot is over 5 years old or repair costs exceed 50% of a new unit's price. Purily experts suggest upgrading when energy efficiency drops below 75% of original specifications. Modern pool robots offer improved navigation, better filtration, and smartphone connectivity.
Pro Tip: Purily's technical team recommends requesting a detailed repair estimate before proceeding. If costs approach $300 and your robot is over 3 years old, replacement often provides better long-term value.
3. Decision-Making Factors
3.1 Performance Assessment
Evaluate cleaning efficiency, coverage patterns, and debris removal capability. If your robot misses spots consistently or requires multiple cleaning cycles, replacement may be more cost-effective. Consider the time value of repeated troubleshooting attempts versus reliable operation.
3.2 Long-term Value Analysis
Calculate total ownership costs including electricity, replacement parts, and maintenance over 3-5 years. New models typically reduce operating costs by 20-30% through improved efficiency. Factor in potential water chemistry issues from inadequate cleaning that could damage pool surfaces.
4. Professional Service Options
4.1 Authorized Service Centers
Manufacturer-authorized repair centers offer genuine parts and warranty-compliant service. While potentially more expensive than independent technicians, they provide documented repairs that maintain warranty coverage. Response times typically range from 2-7 business days.
4.2 Independent Repair Specialists
Certified pool equipment technicians often provide faster service and competitive pricing. Verify credentials, ask about experience with your specific model, and request references. Many offer mobile service, eliminating transportation costs and reducing downtime.
5. Environmental Considerations
5.1 E-waste Impact
Electronic waste from discarded pool robots contains batteries, circuit boards, and plastics. Proper recycling through manufacturer take-back programs reduces environmental impact. Some retailers offer trade-in credits for old units, offsetting replacement costs while ensuring responsible disposal.
5.2 Energy Efficiency Benefits
Newer pool robots consume 40-60% less electricity than models from 5+ years ago. Advanced algorithms optimize cleaning patterns, reducing runtime by 25-35%. Calculate potential energy savings: a modern robot using 150 watts versus an older 400-watt model saves approximately $250 annually in electricity costs.
6. Making the Final Decision
6.1 Quick Decision Guide
Under 3 years old with minor issues: Repair
3-5 years old with major component failure: Consider both options
Over 5 years old or multiple failures: Replacement
Repair costs exceed 50% of new unit price: Replacement
Energy efficiency below 75%: Replacement
6.2 Implementation Timeline
Schedule repairs during off-season months when pool usage is minimal. For replacements, plan installation before peak swimming season to ensure optimal performance. Allow 2-3 weeks for custom orders or special features. Consider temporary cleaning solutions during transition periods.
Q1: How do I know if my pool robot needs repair or replacement?
Evaluate the age, repair history, and current performance. If your robot is under 3 years old with a single issue, repair is usually best. For units over 5 years with multiple problems or energy efficiency below 75%, replacement offers better value.
Q2: What's the average lifespan of a pool robot?
Quality pool robots typically last 5-7 years with proper maintenance. Premium models can function for 8-10 years. Regular cleaning, proper storage, and timely part replacements extend operational life significantly.
Q3: Are pool robot repairs covered by warranty?
Most manufacturers offer 1-3 year warranties covering manufacturing defects and certain component failures. Warranty coverage varies by brand and model. Review your specific warranty terms or contact the manufacturer for coverage details.
Q4: Can I repair my pool robot myself?
Basic maintenance like filter cleaning and brush replacement can be DIY projects. However, electrical components, motor repairs, and control board issues require professional service to avoid safety hazards and maintain warranty coverage.
Q5: How much can I save with a new energy-efficient pool robot?
Modern pool robots use 40-60% less electricity than older models. Annual savings typically range from $150-$400 depending on your electricity rates and pool size. Advanced navigation systems also reduce cleaning time, saving additional energy costs.
